Today I decided to show more than writing, just for a change. Turns the sound on ... :)
.: Update:.
Since I saw the kitchen wall of Vivi this way, I do not settle down until one of those here at home! It was inspiration at first sight!
So here is my version for this lovely idea!
The your apartment is rented?
So welcome to my world!
You think you can not make a funny in the decoration because of this?
So for all ... what world do you live?
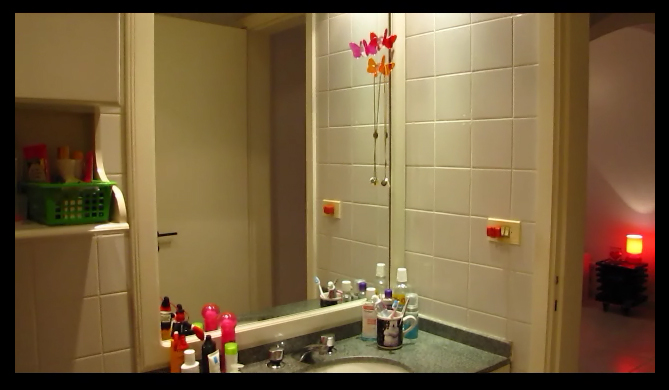
If your apartment is rented, just like me, this is our light at the end of the tunnel in order to get a bathroom with colorful tiles! Because I imagine that, like me break wall is out of question, right?
For starters, you should choose what designs you want to use. I made a total mixed with pictures that I like. But you can only choose one style or to use only two figures, merging the two as a chessboard, you know?
All images I use in my tiles I got from Google. Tips keywords for search:
Vintage Pattern, Tile, Tile Pattern, Cute Pattern, Bohemian Pattern Cute Prints, Antique Prints etc.
But it is clear that this part here is totally free! As you'll note, not all tiles have a standard pattern. There are some that are even figures such as Obama, banana, abelinha ... here is your imagination who's boss.
My tile measures 15cmx15cm. So I formatted the size of the pictures that she would get a square shape and with such measures. It is important that the adhesive is thoroughly coladinho the grout, but not cover it, occupying the entire area of \u200b\u200bthe tile to make it look real good when the adhesive is applied.
not know how to change the length of the figure? Here you can learn, remember this post ?
3 - We will cheapen the thing
To cheapen printing, I put all the boxes, one beside each other, so that printing out on a single sheet of 1,05 mx1, 05m.
In graphics, you should ask adhesive color vinyl printing, in this format.

adhesive vinyl has a protective layer, like a varnish, which will then allow you to clean the tile with a damp cloth, without spoiling the impression.
I paid $ 60 on that sheet and it'sa big one 49 squares. Most printers do this type of corner and print that size.

Tip: in the graphic, you can request to have the stickers they get cranky! So you are back home with them all cut up. This saves you time and ensures that the cut between them and stay over!

4 - Now the fun begins!
Before gluing the patch, clean the wall with alcohol or a degreaser. This ensures the adherence of the adhesive.

Now is piece of cake, right? Easier to paste figurine on the album! As the area is small, you need not worry as much about bubbles or use a spatula. I have not used. But if you want to be sure, go ahead!


5 - The finish is all
It is possible that you have some tiles that cranky, as I did. Just use a stylus and ready. Do not even have to explain much ! The cut is easy and it's almost impossible for you goofing on that part.
If you want you can measure the area before cutting the adhesive with a scissors and paste it already with the right size. But I prefer to paste everything and then adjust the leftovers with stylus.

6 - Work done mission accomplished and little dance of victory.
I've done my ... :)


Pssst ... considering the requests, I'll share with you the file used to make the tiles, complete with an earful of light: it is for you to cheer up, roll up your sleeves and get yours!
All for you to have a home more colorful. :)
0 comments:
Post a Comment